Quick Start
Getting lifelib
If you are on Windows, simply download lifelib with WinPython from here. Unzip the file. No installation is required. The file contains a custom Python distribution based on WinPython distribution, with lifelib, modelx and spyder-modelx preinstalled.
If you are on Linux or Mac, follow the manual installation instruction below. If you do not wish to use the WinPython-based distribution, and want to use lifelib on your Anaconda environment, follow the instruction.
Running Online
Jupyter Notebook enables you to run Python code in your browser. lifelib comes with some Jupyter notebooks, and the quickest way to try lifelib is to run the notebooks online. Go to Jupyter Notebooks page and click one of the banner links. The link will take you to a web page where the selected notebook starts loading. Once the notebook loads, select Cell menu, and then select Run All to run & build models and get results and draw graphs. To run the notebooks locally on your computer, refer to running-notebooks section.
Creating a Project
lifelib is essentially a collections of folders called projects, containing source and data files to build models. You use lifelib by copying a project from lifelib package to your own path.
A command lifelib-create helps you create a new project folder
by copying a template project from within the lifelib package to your desired
folder path.
For example, to create a project folder named
mylife under the path C:\Users\fumito by copying lifelib’s default project
template simplelife,
Go to the unzipped folder and start WinPython Command Prompt.exe. Type the following command on the command prompt:
> lifelib-create --template simplelife C:\Users\fumito\mylife
Alternatively, since simplelife is the default template,
you can get away with –template option like this:
> lifelib-create C:\Users\fumito\mylife
Check that the folder is created and populated with files copied from lifelib’s default project.
Running Notebooks
Jupyter notebooks on Jupyter Notebooks page are also included in lifelib
projects, and can be executed on your local computer by running
Jupyter Notebook locally.
For example, if you create a project folder named myifrs17sim from
the project template ifrs17sim,
you can go to the folder by cd command and launch Jupyter Notebook:
> cd myifrs17sim

> jupyter notebook
The command above opens a new tab in your web browser, and Jupyter Notebook session starts in the tab.
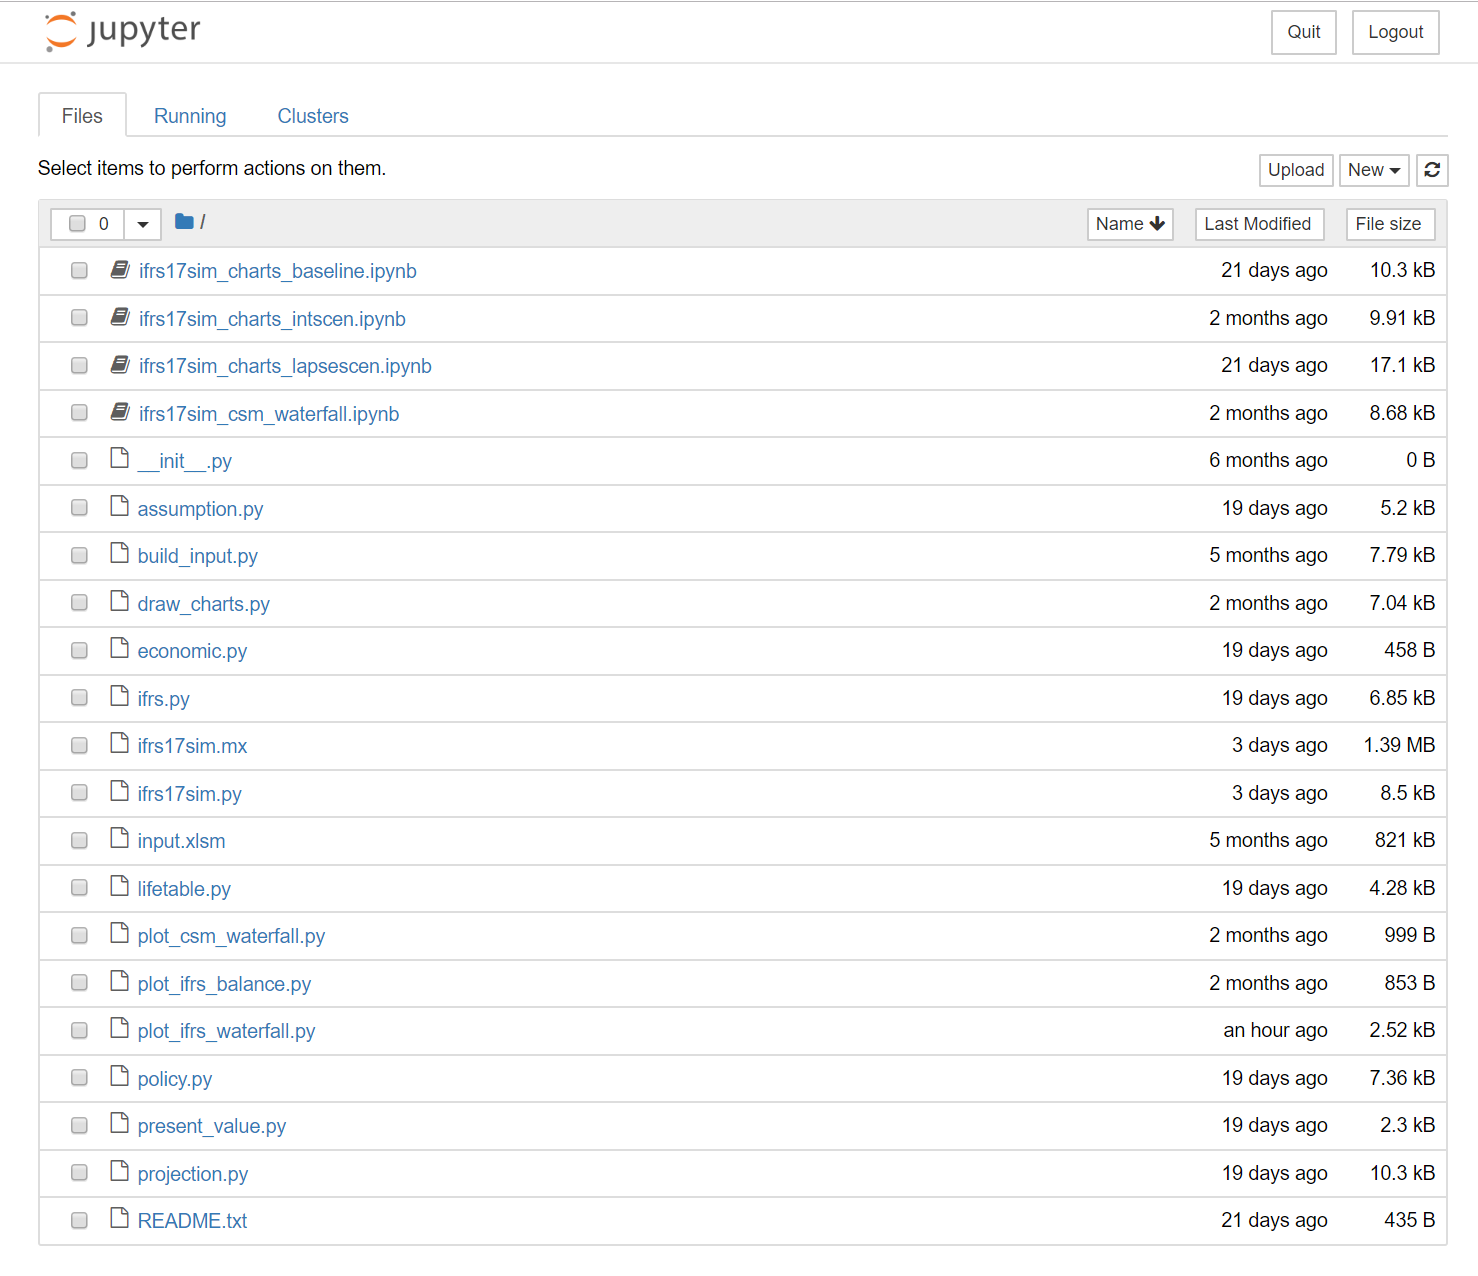
files with ipynb extension are Jupyter notebooks. By double-clicking one,
it opens in another tab, and you’ll see the same page as you see it online.
Using Spyder plugin
Spyder is a popular scientific Python IDE, and it’s bundled in with WinPython by default. Spyder plugin for modelx adds widgets to Spyder, letting users to develop models with modelx more intuitively in Spyder. Go on to Using Spyder plugin page for more details.
The Spyder plugin for modelx is pre-installed in the zip file here, and the Spyder in the file is pre-configured and customized.